 |
Nancy Drew Library Editions
|
|
|
|||||
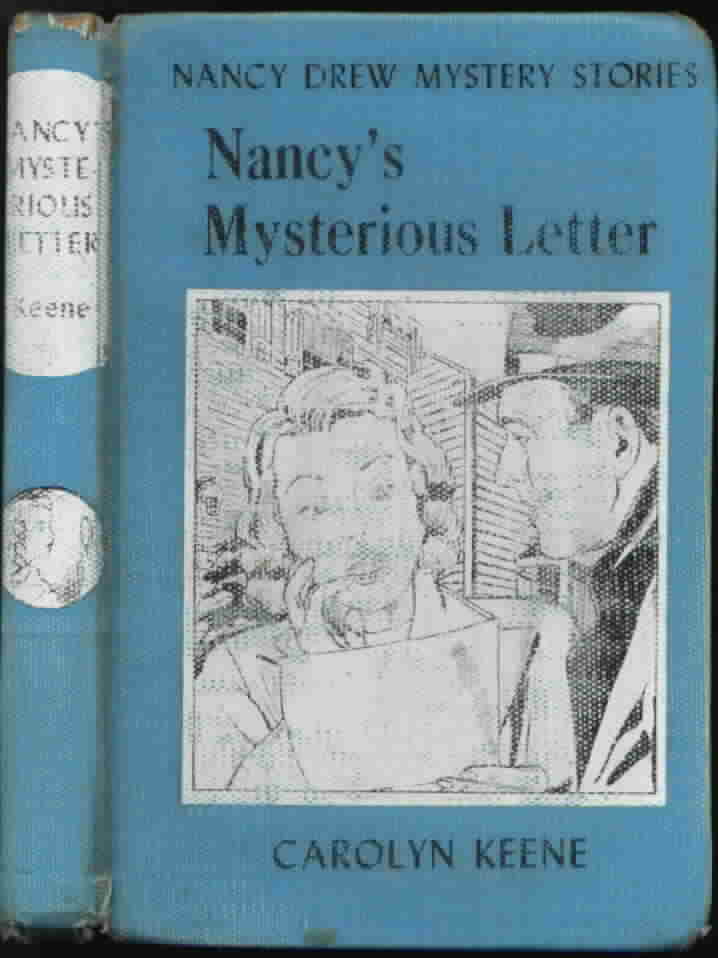 8. Nancy's Mysterious Letter solid blue back cover |
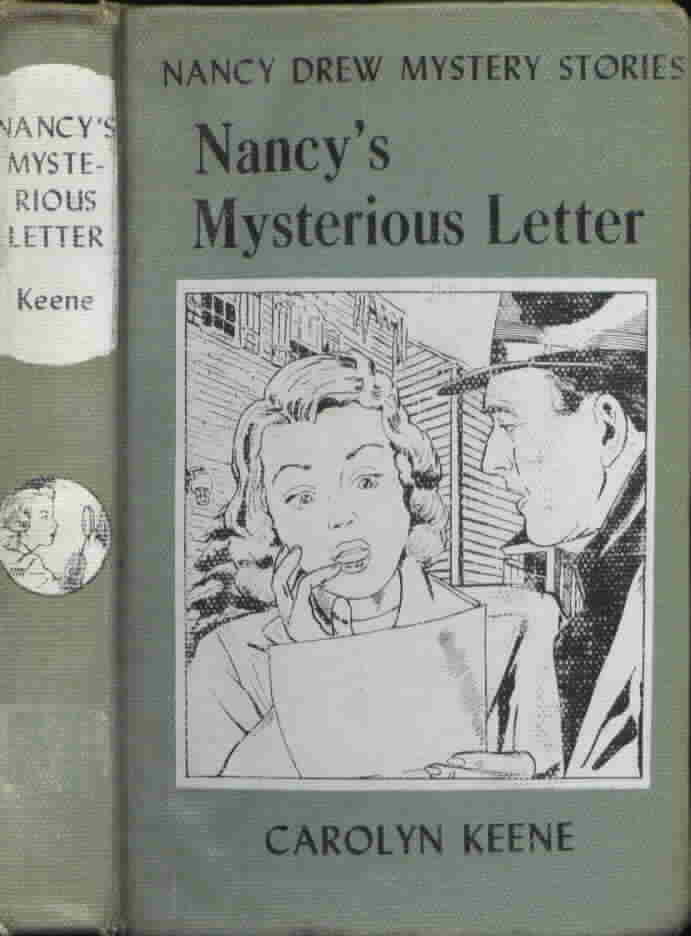
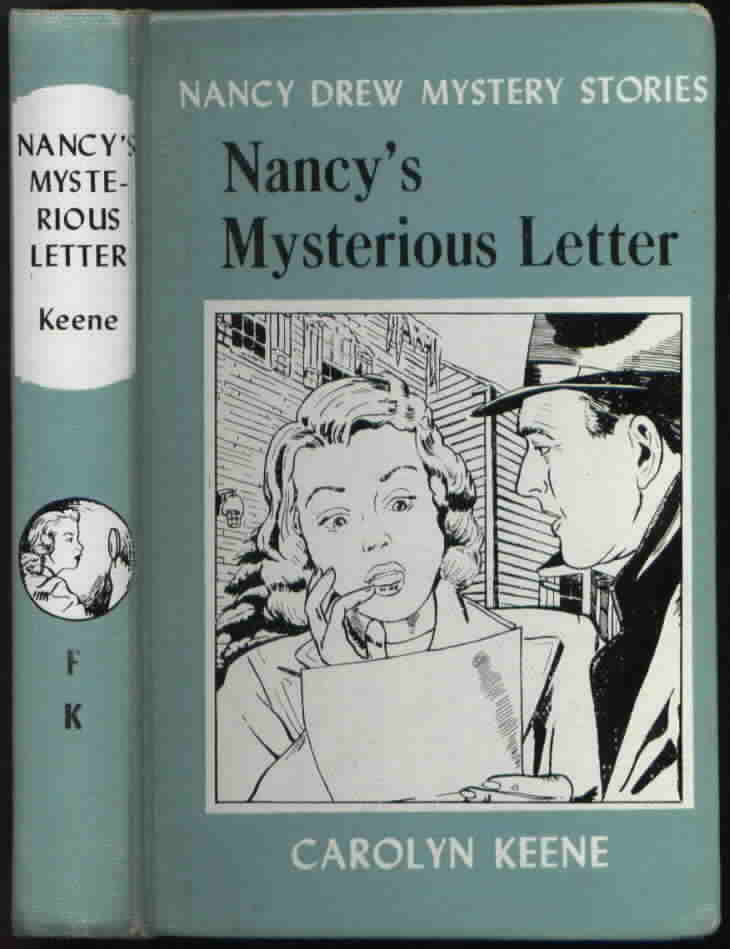 8. Nancy's Mysterious Letter magnifying glass on back cover |
 8. Nancy's Mysterious Letter solid blue back cover |
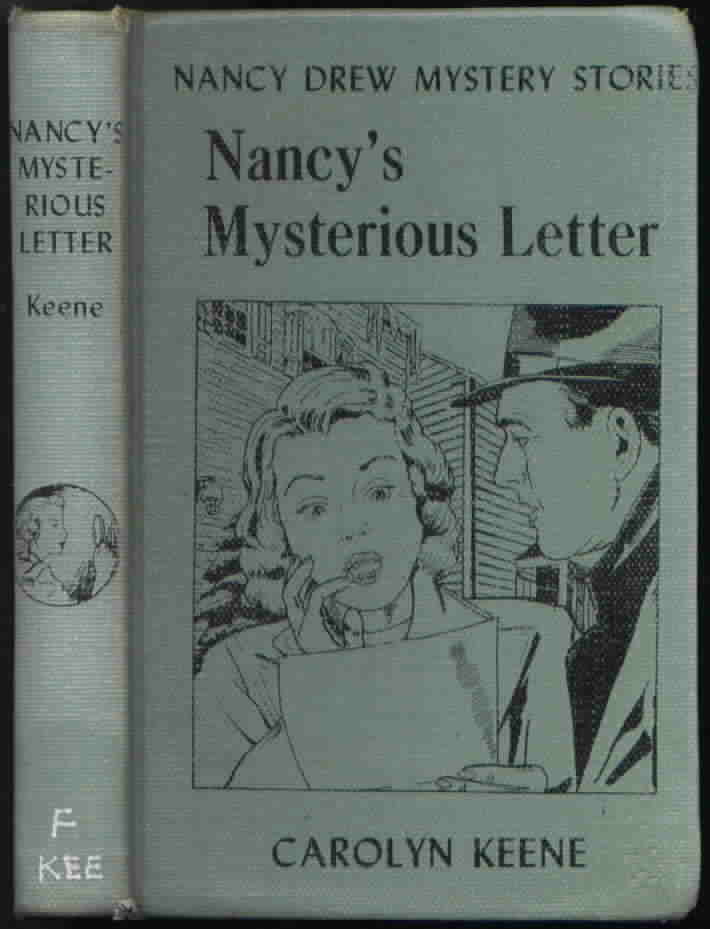 8. Nancy's Mysterious Letter solid blue back cover |
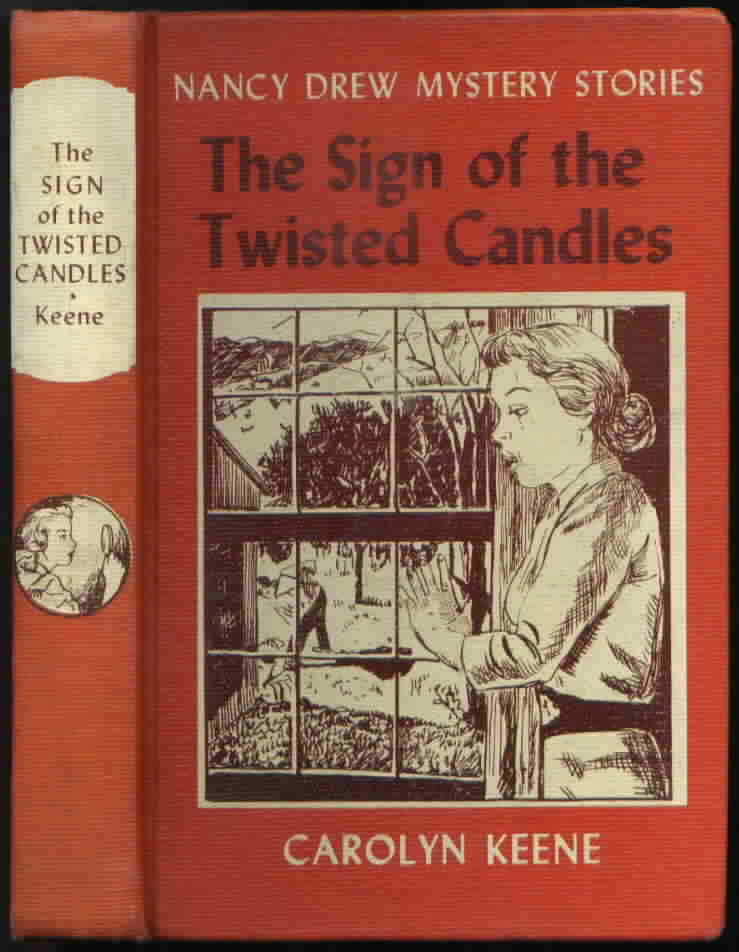 9. The Sign of the Twisted Candles magnifying glass on back cover |
|
|
|
|||||
 9. The Sign of the Twisted Candles magnifying glass on back cover |
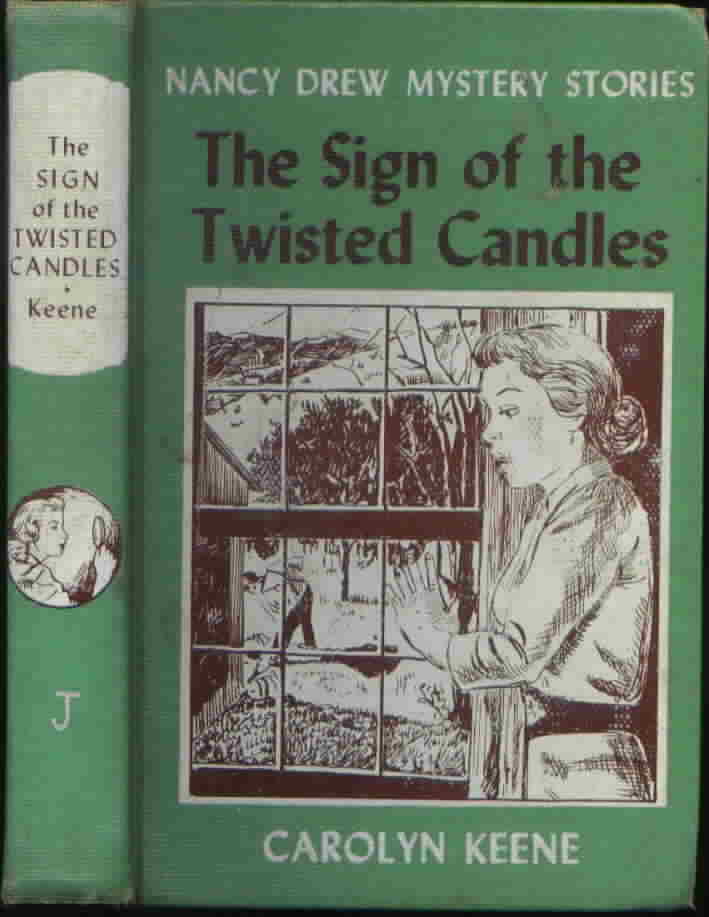 9. The Sign of the Twisted Candles solid green back cover |
 9. The Sign of the Twisted Candles solid green back cover |
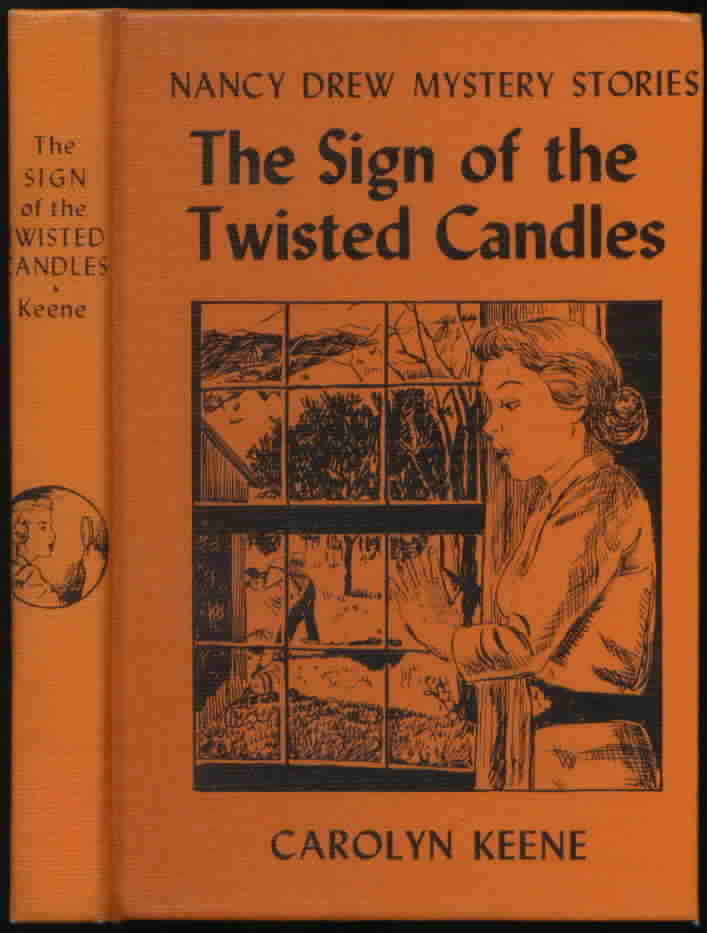 9. The Sign of the Twisted Candles solid orange back cover |
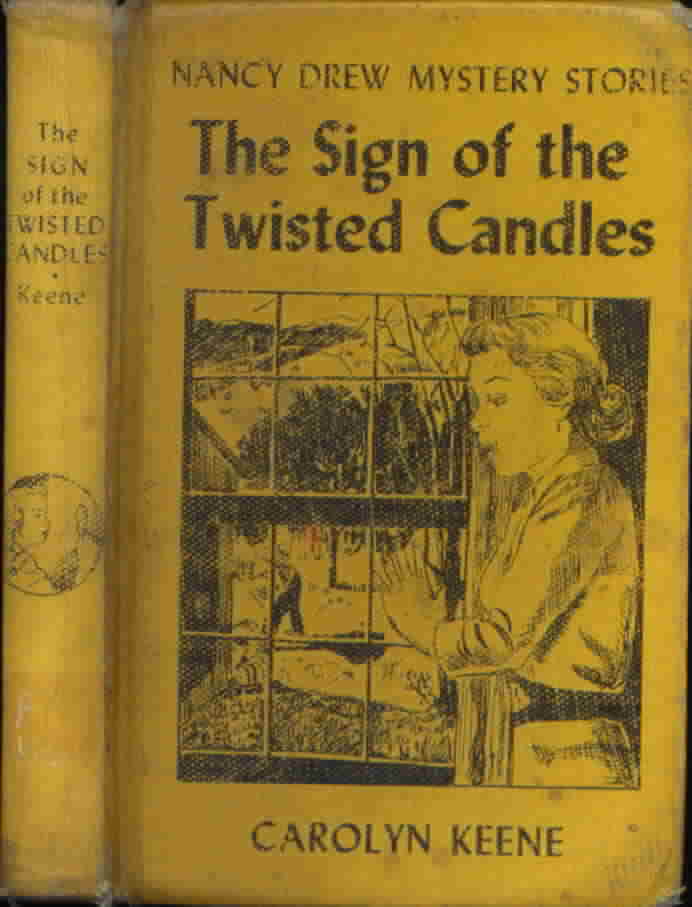 9. The Sign of the Twisted Candles solid yellow back cover |
|
|
|
|||||
 10. The Password to Larkspur Lane magnifying glass on back cover |
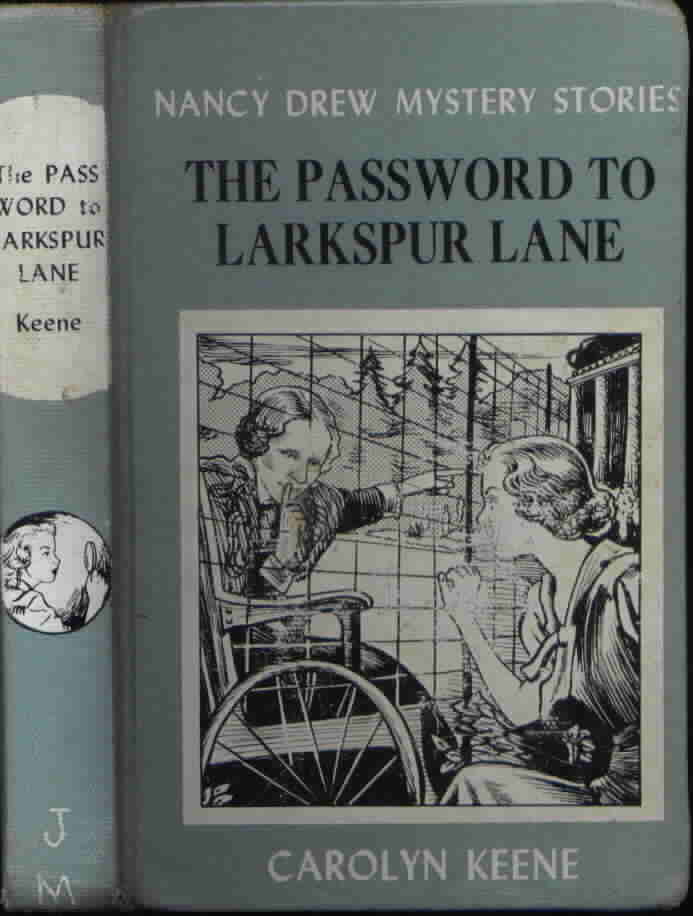 10. The Password to Larkspur Lane magnifying glass on back cover |
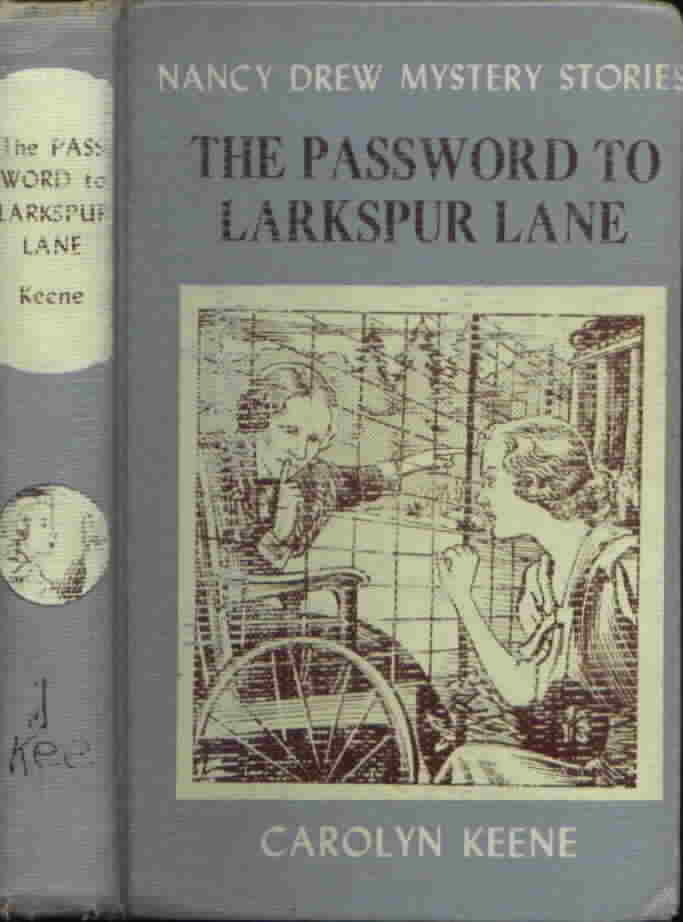
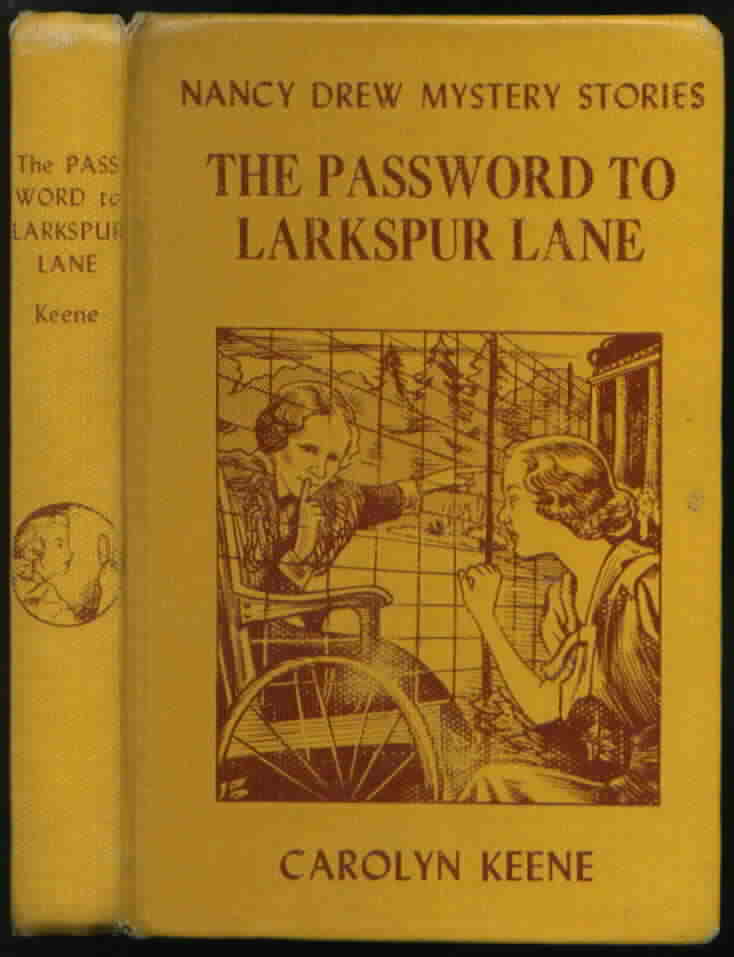 10. The Password to Larkspur Lane solid yellow back cover |
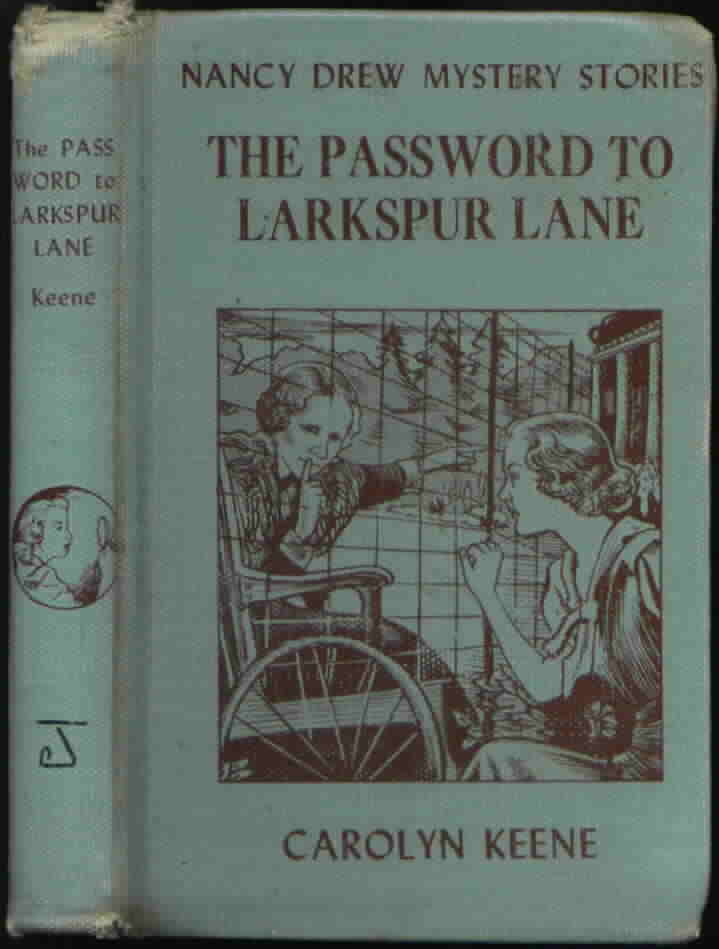 10. The Password to Larkspur Lane solid blue back cover |
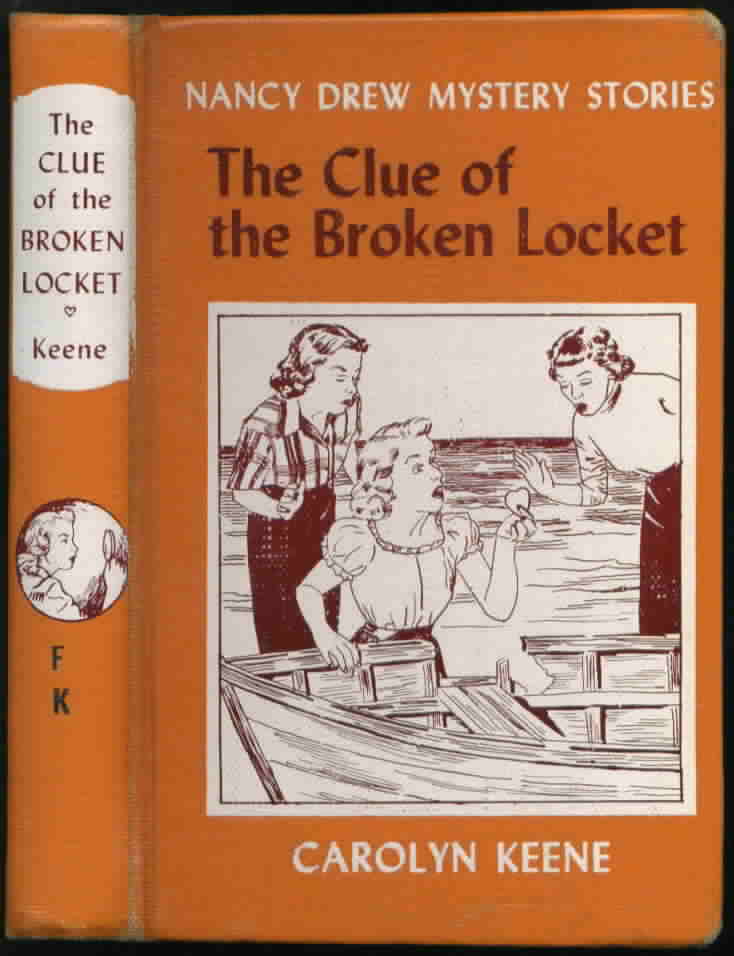 11. The Clue of the Broken Locket magnifying glass on back cover |
|
|
|
|||||
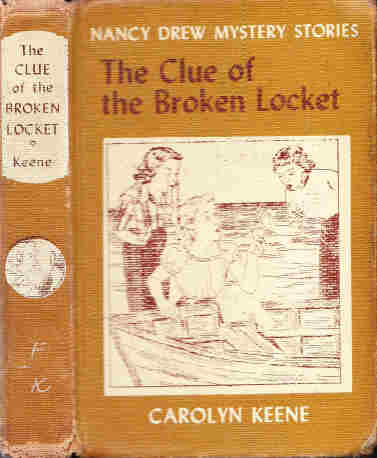 11. The Clue of the Broken Locket magnifying glass on back cover |
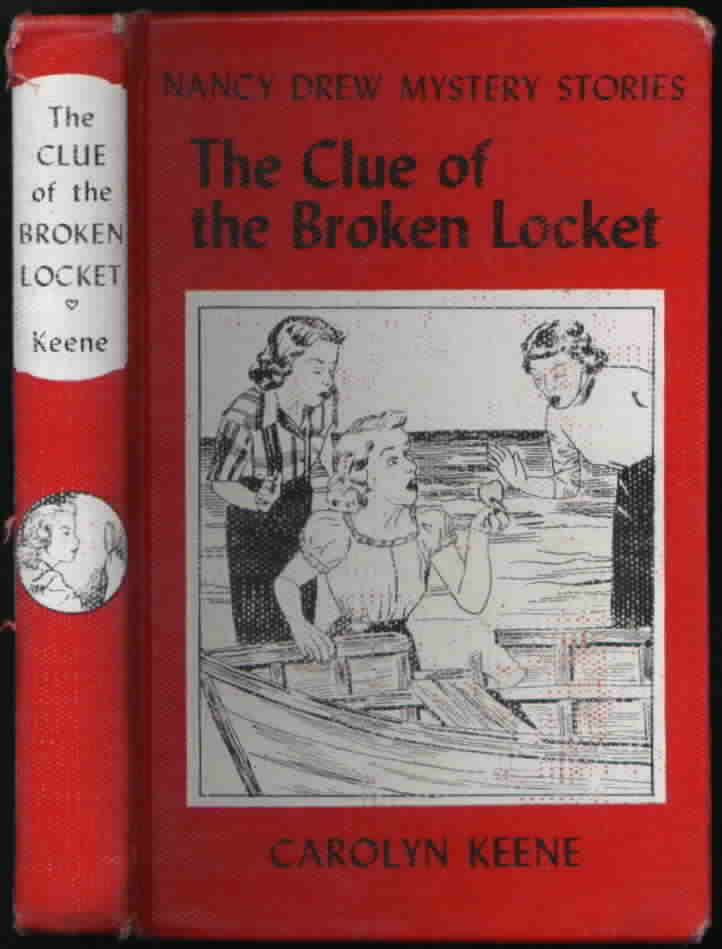 11. The Clue of the Broken Locket magnifying glass on back cover |
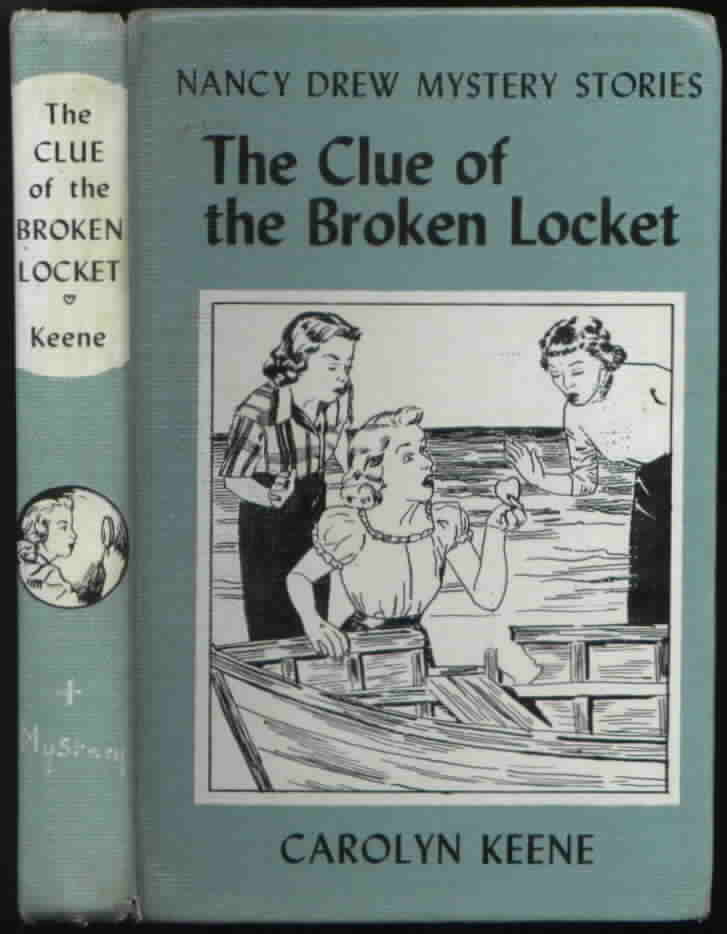 11. The Clue of the Broken Locket magnifying glass on back cover |
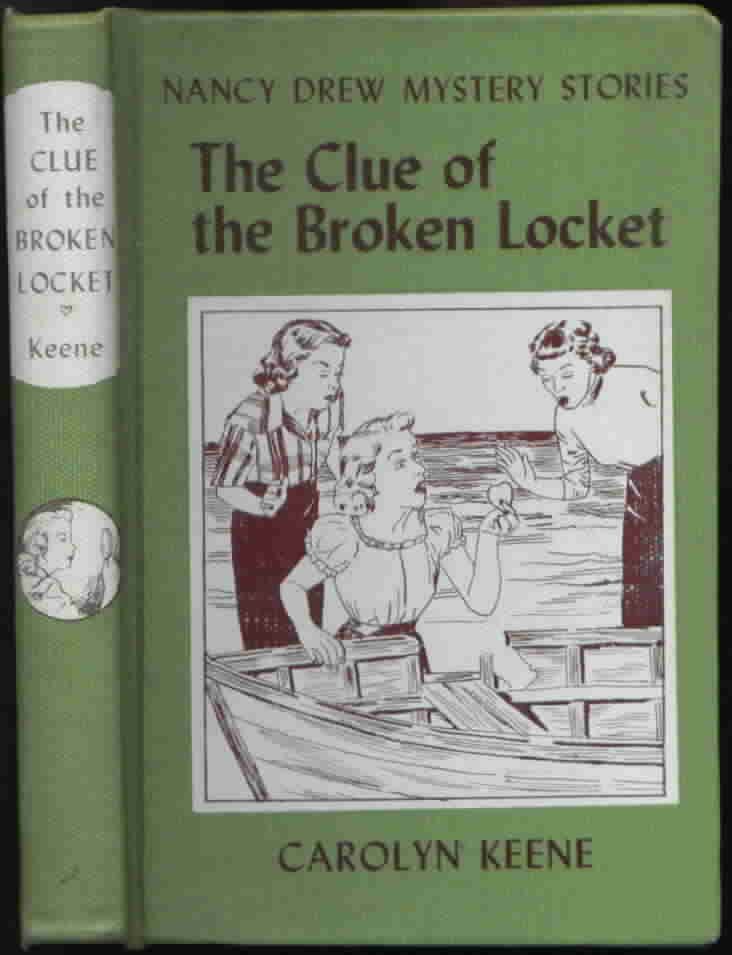 11. The Clue of the Broken Locket magnifying glass on back cover |
 13. The Mystery of the Ivory Charm magnifying glass on back cover |
|
|
|
|||||
 13. The Mystery of the Ivory Charm magnifying glass on back cover |
 13. The Mystery of the Ivory Charm magnifying glass on back cover |
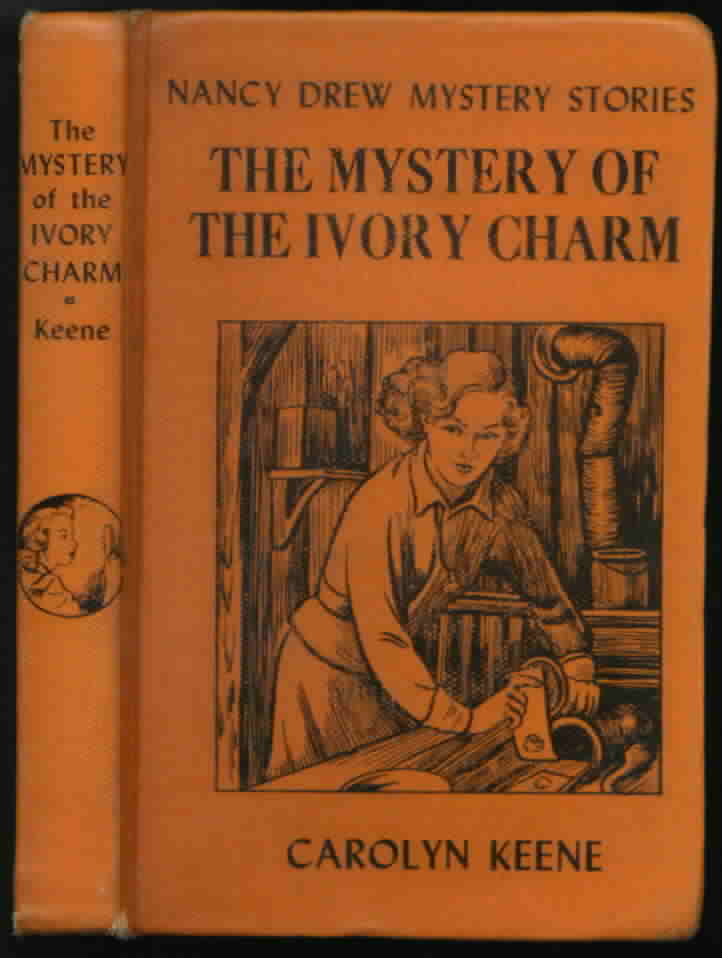 13. The Mystery of the Ivory Charm magnifying glass on back cover |
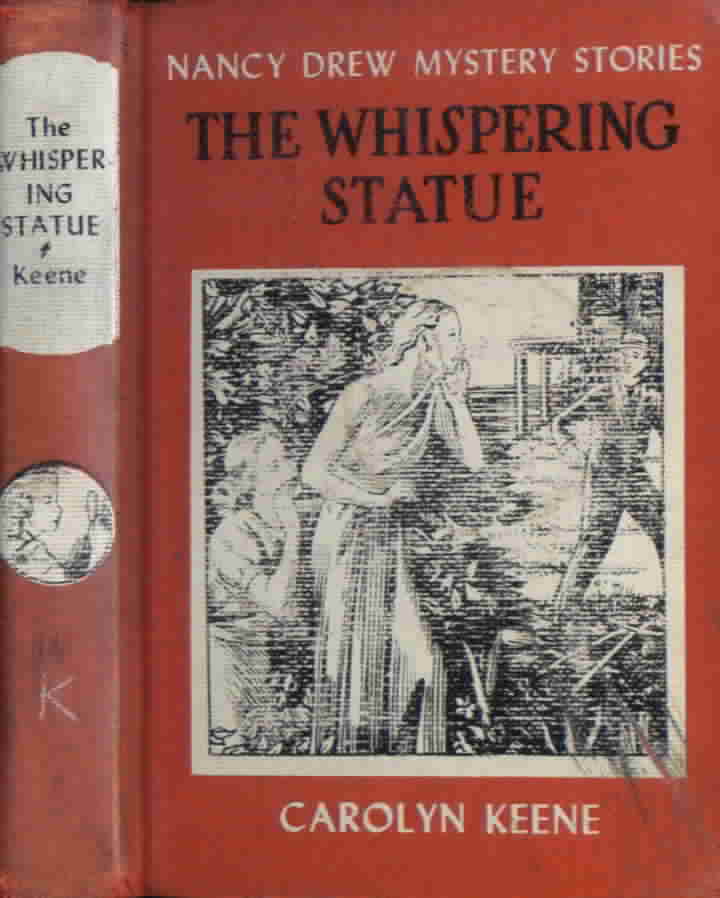 14. The Whispering Statue magnifying glass on back cover |
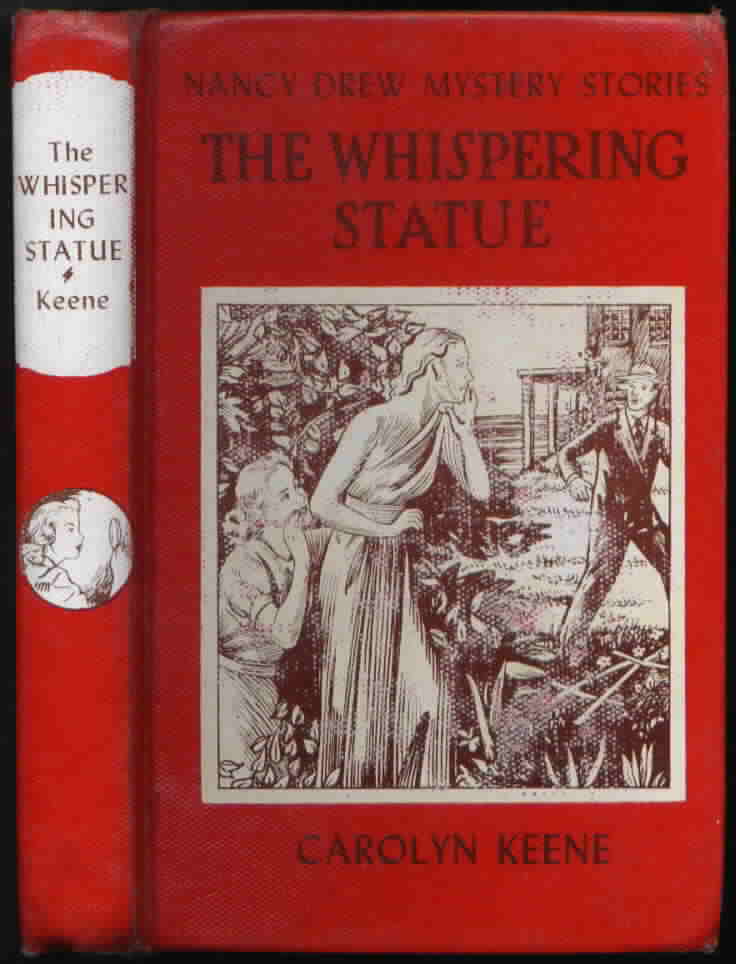 14. The Whispering Statue magnifying glass on back cover |
|
|
|
|||||
 14. The Whispering Statue magnifying glass on back cover |
 15. The Haunted Bridge magnifying glass on back cover |
 15. The Haunted Bridge magnifying glass on back cover |
 15. The Haunted Bridge magnifying glass on back cover |
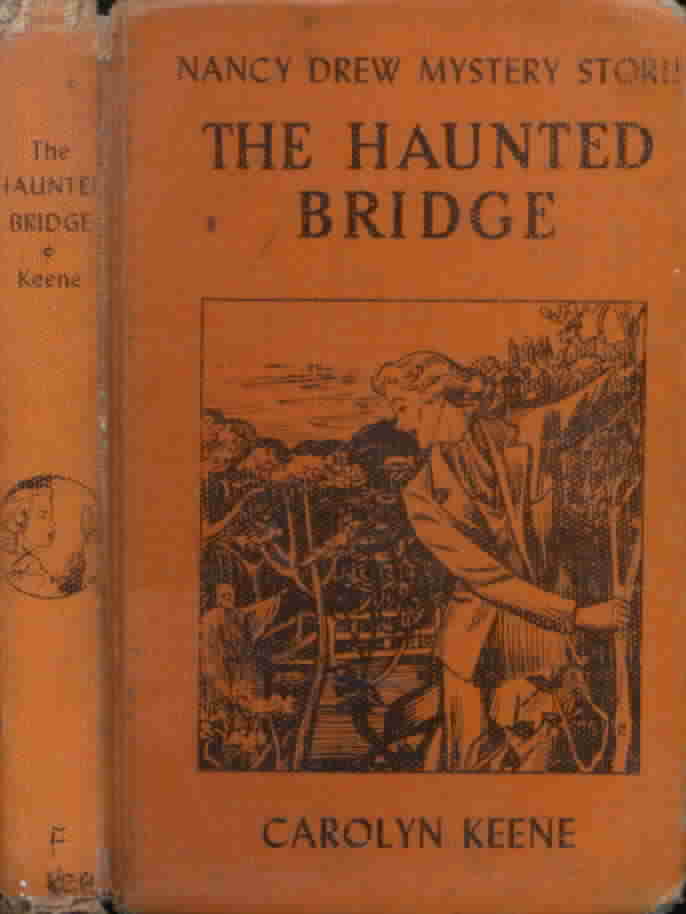 15. The Haunted Bridge magnifying glass on back cover |
|
|
|
|||||
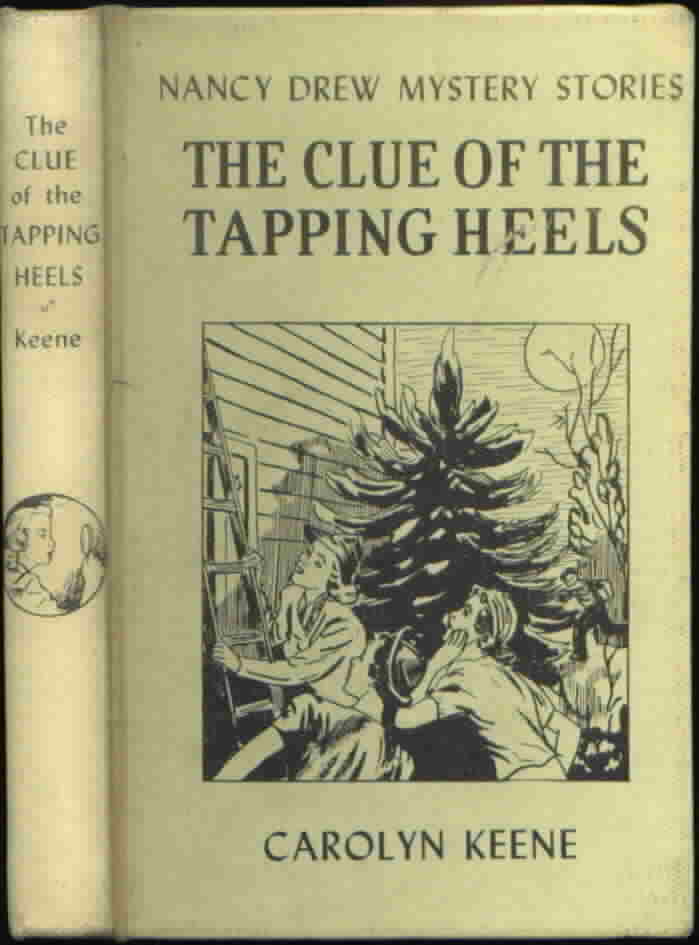
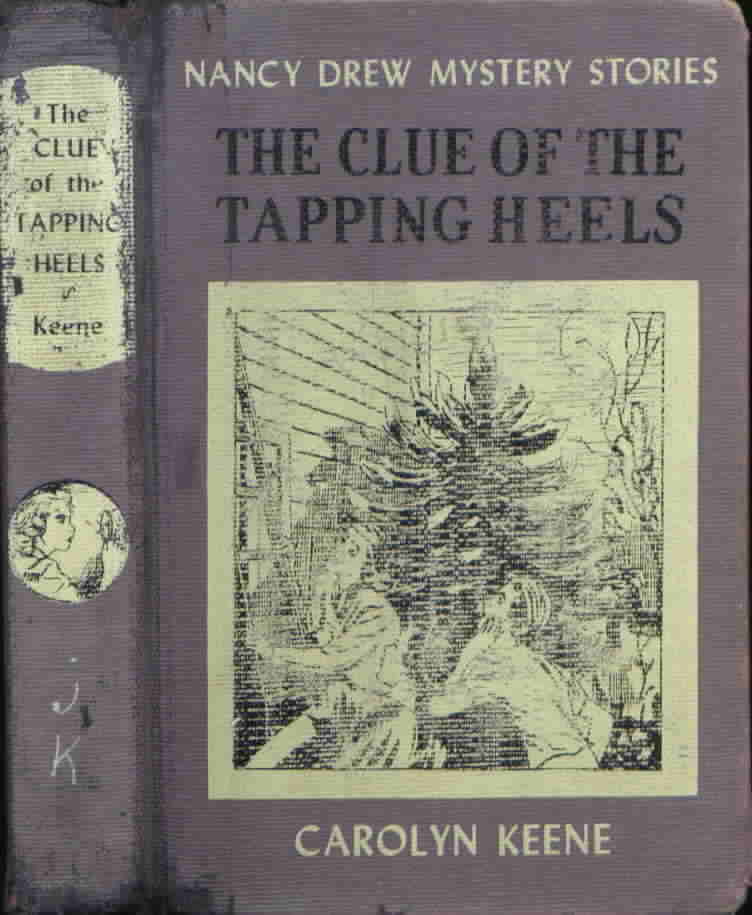 16. The Clue of the Tapping Heels magnifying glass on back cover |
 16. The Clue of the Tapping Heels magnifying glass on back cover |
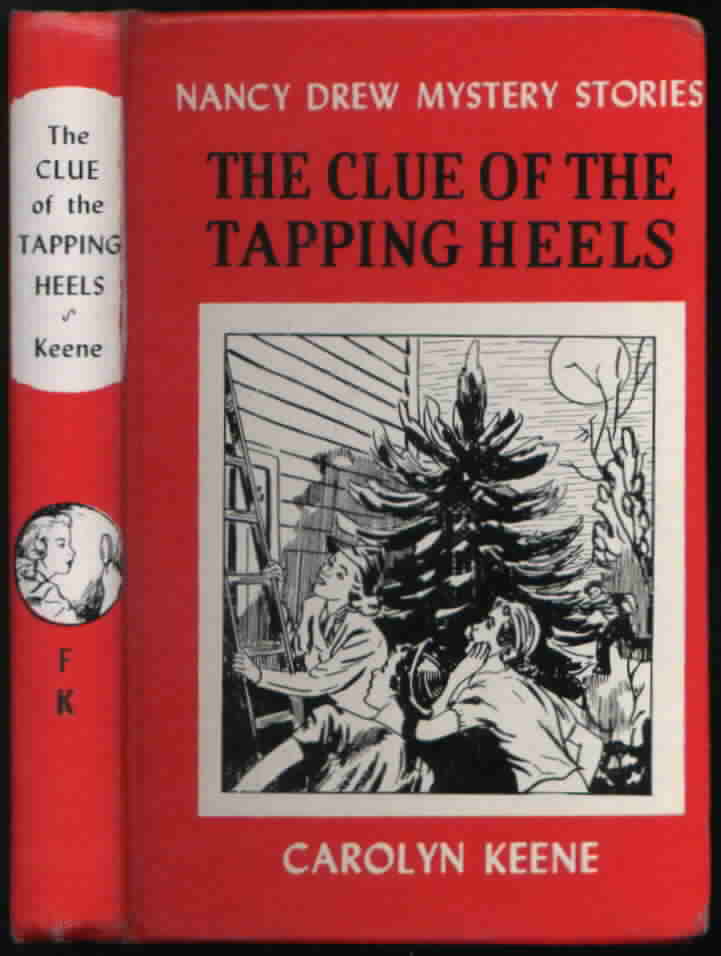 16. The Clue of the Tapping Heels magnifying glass on back cover |
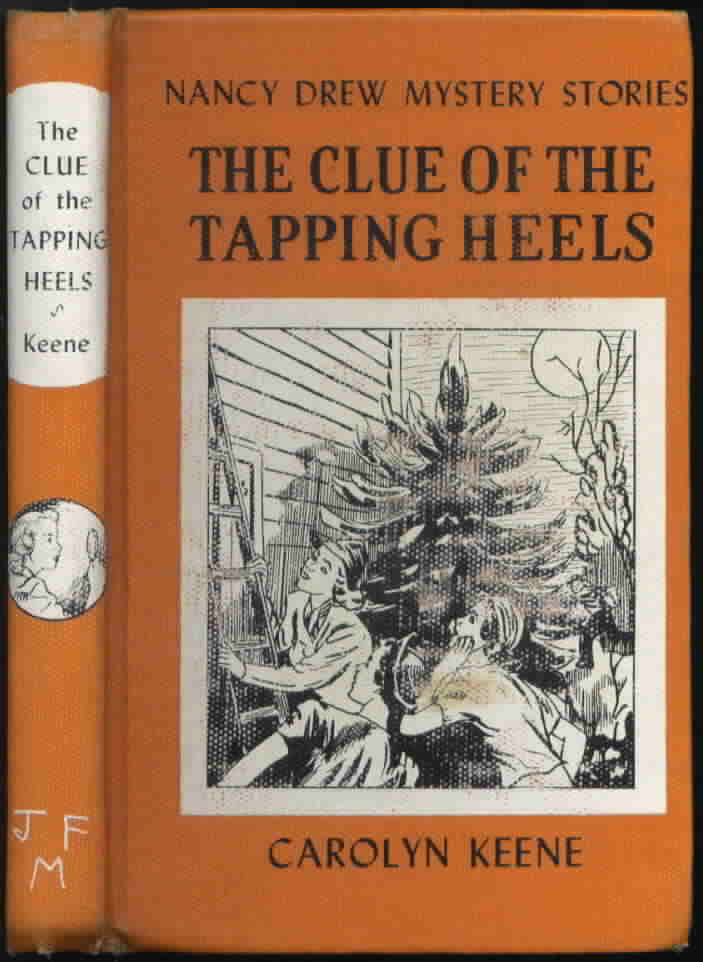 16. The Clue of the Tapping Heels magnifying glass on back cover |
 16. The Clue of the Tapping Heels magnifying glass on back cover |
|
|
|
|||||
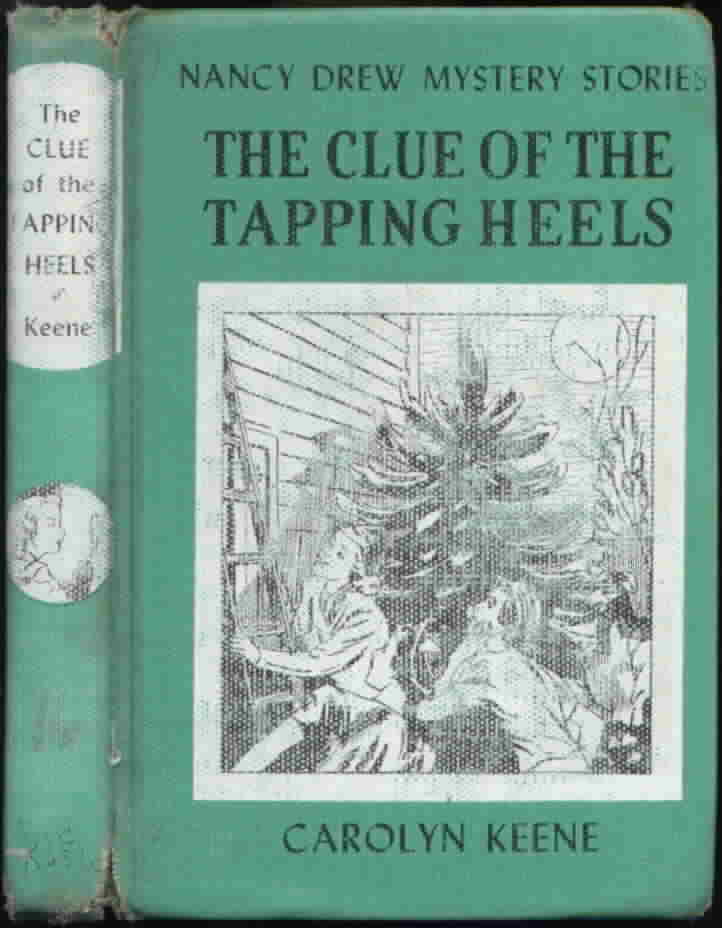
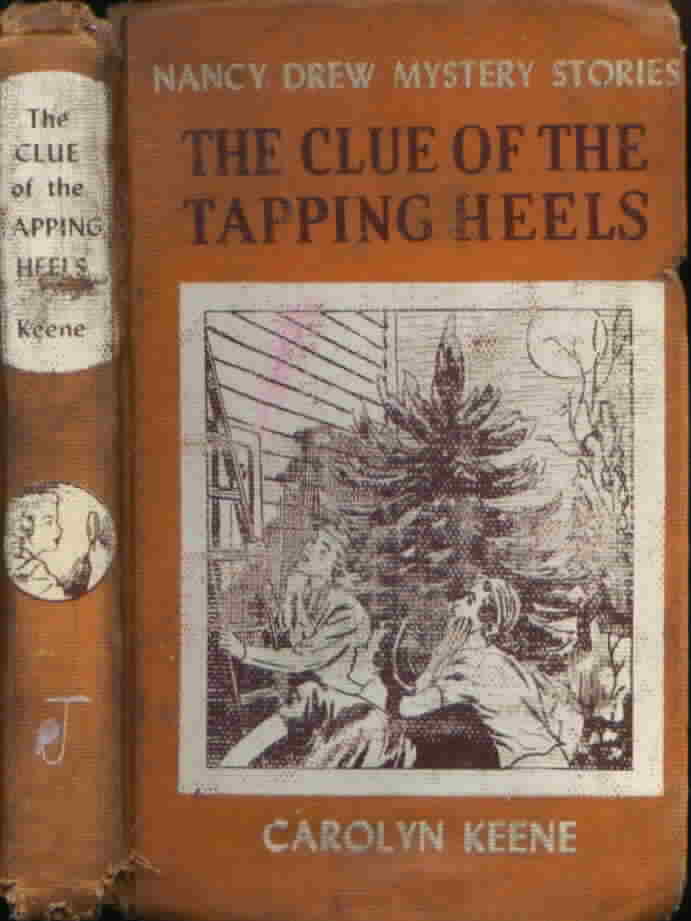
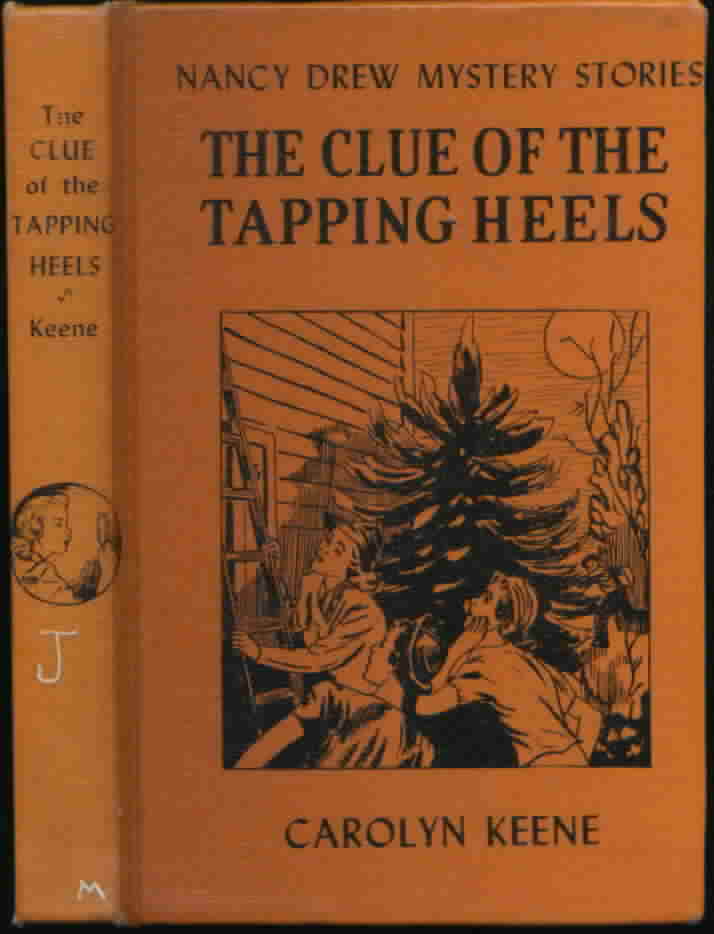 16. The Clue of the Tapping Heels magnifying glass on back cover |
 16. The Clue of the Tapping Heels magnifying glass on back cover |
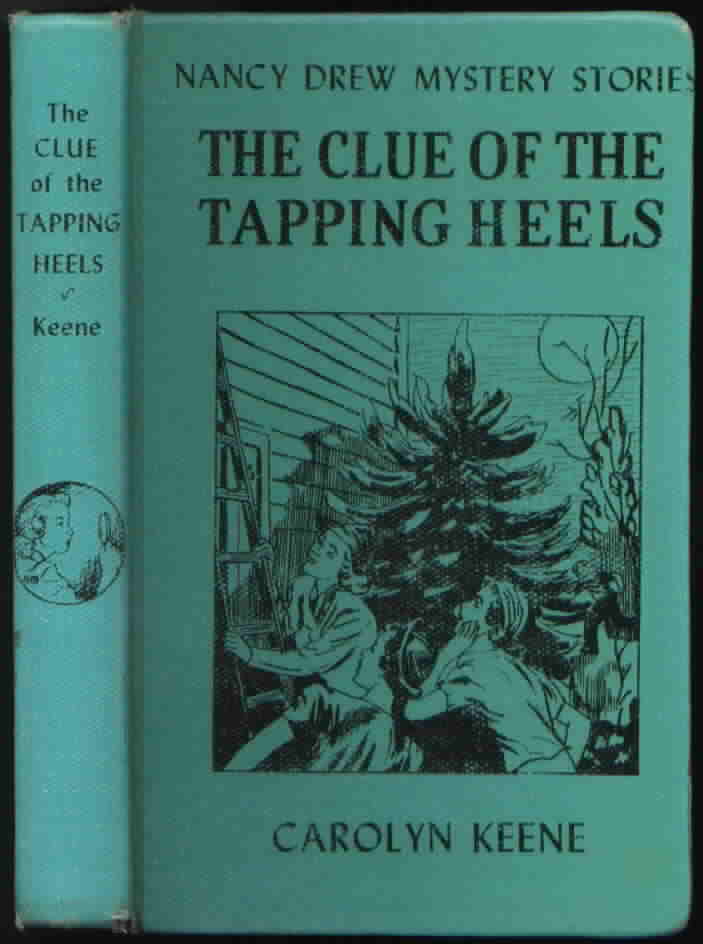 16. The Clue of the Tapping Heels magnifying glass on back cover |
|||
|
|
|||||
| Cameo Bindings Volumes 1-7 Cameo Bindings Volumes 17-24 Cameo Bindings Volumes 25-34 Back to Cameo Library Bindings Overview Back to Library Editions Overview Back to Main Page |
|||||